How to log in and manage your Stripe account
To log in to your Stripe account, go to the website stripe.com
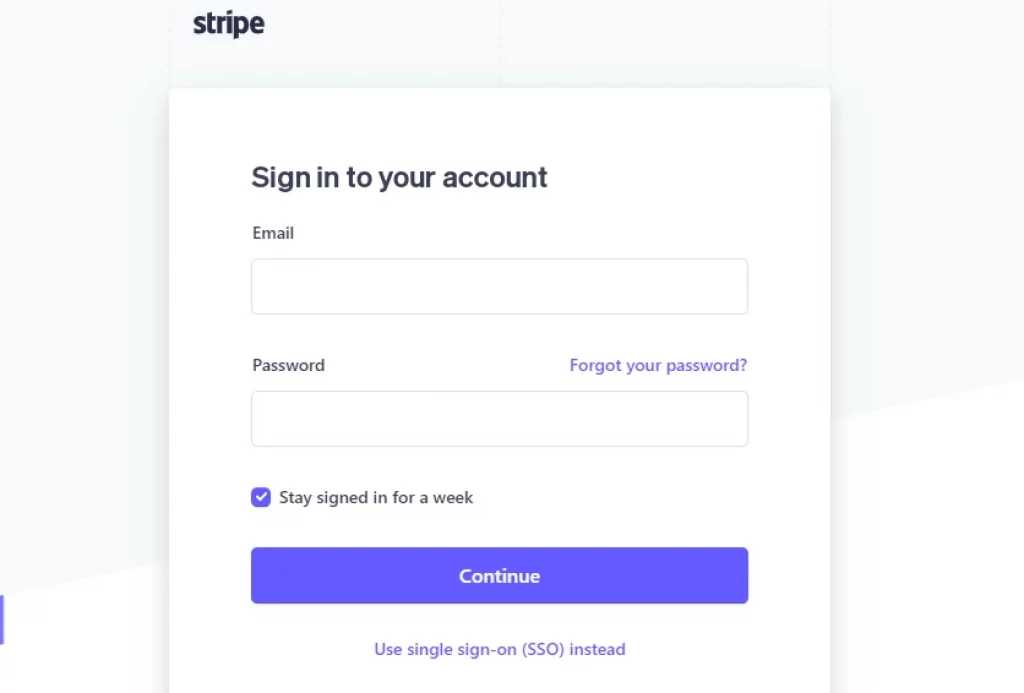
Click the “Sign in” button.

Enter the email address with which your Stripe account is registered and your password.
Click “Continue“.
Enter the verification code that you will receive via SMS to your phone number.

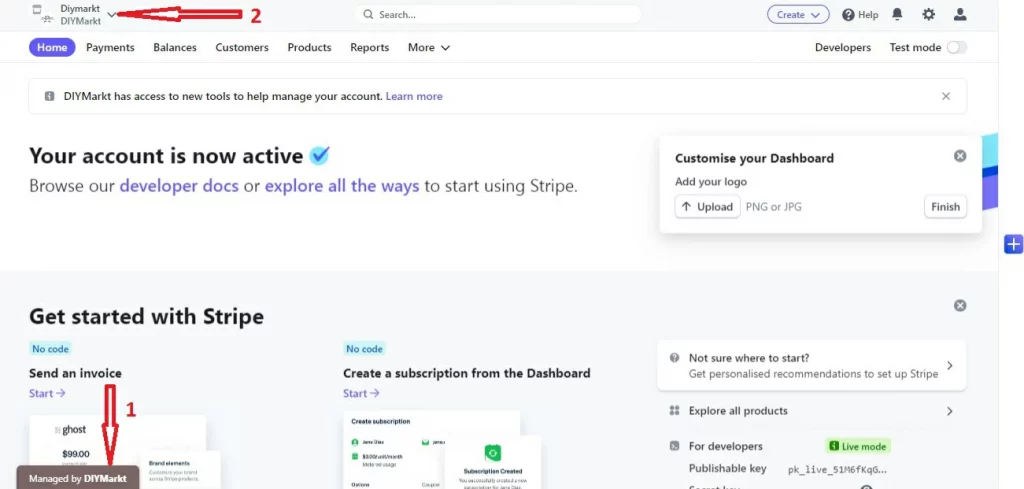
Two indicators on your account page will be proof that your Stripe account is successfully connected to the DIY Markt platform:
1 – In the lower-left corner of the page it will be noted: “Managed by DIY Markt“.
2 – In the upper left corner, immediately below the name of your account, there will be a DIY Markt.
NOTE: If, when registering your Stripe account in the field “your website“, you indicated your shop page on the platform DIY Markt (https://www.diymarkt.com/shop/yourstore), then the account will automatically bear the name of the platform, that is Diy Markt. See below for how to change your account name.
Working tools in the Stripe panel for successful account management.
Stripe has very large functionality but to manage your account you need a few tools.
The Stripe panel is divided into 3 sections:
1 – edit name of account/add new accounts/switch between accounts
2 – reports overview/payments/balances/customers
3 – notifications/settings/profile/disable test mode

Section 1
Clicking on the down arrow icon next to your account name will open a drop-down menu. In this section, you can: change your account name, create new accounts, and switch between your accounts if you have more than one.
IMPORTANT!!!One Stripe account can only be associated with one store and platform. If you are opening another store (regardless of whether it is on the DIY Markt platform or any other platform), you must create a new account on the same Stripe panel and then connect this new account to your second store. If you try to connect multiple stores or platforms to the same Stripe account, the Stripe payment system will automatically disconnect all stores from the payment system and you will not be able to accept payments.
For example, you have connected your Stripe account to shop “A” on the DIY Markt platform. If you open shop “B” on the DIY Markt platform (or another platform), you must connect it to a different Stripe account than shop “A”.
To change the account name, click “Edit“.
To create a new account, click “+ New Account” and then fill in the information that the Stripe system requires.
If you have multiple Stripe accounts, they will all be listed in the dropdown menu and you can switch between them.

Section 3
This section is located in the upper right corner and consists of several important elements:
1 – person icon – Profile. Here you can change your email address, two-step verification phone number, personal information, language, and email notifications.
2 – gear icon- Settings. This element is very important. Once you’ve logged into your Stripe account for the first time, go directly to “Settings”. See below on the page what you need to configure there.
3 – bell icon – Notifications. If you see a red dot on the bell icon, it means you have received a new notification. Click on the bell icon to open notifications. The most important (urgent) notifications Stripe will send to your email.
4 – Make sure test mode is disabled (switch is off), otherwise you won’t be able to receive payments.

1 – Click the “gear” icon to go to the account settings.
2 – On the page that opens you need the “Business settings” section. Click on every link in this section to verify or/and modify your business information.
Click on “Account details“.

On the page that opens check if your phone number is verified. If no, click on “Verify now“.
NOTE: On this page, you will also find the “Close Account” option. If you click the red “Close Account” button, your Stripe account will be deleted immediately with all data. Deleting an account is irreversible. You cannot restore it.

After you click “Verify now” for your phone number, the pop-up window will open.
Enter your phone number and click “Send confirmation code“. Then on the page that opens enter the code that you will receive via SMS.

After successfully verifying your phone number, refresh the account settings page and you will see the status “Verified“.

Section 2
This section consists of the main working tools that you will use in your Stripe dashboard.
Home
It is the main page of your Stripe account. Here you will see reports on the movement of funds in your Stripe account: balance, payouts, gross volume, net volume, number of new customers, successful payments, disputes, and high-risk payments. You can select specific periods or dates for reporting.

Payments
On this page, you will see all the payments coming into your store. If necessary, you can filter payments into successful, refunded, uncaptured, and failed. You can also see disputes if there are any.
NOTE: The amounts indicated on the payment panel represent the total amount, i.e. the full cost of your product without deducting the fees of the platform and payment system. To find out how much you received from each payment, click on the desired line and view all the data on the page that opens. You can also view your net earnings for each order in the Vendor Dashboard → Orders. There, in the line of each paid order, “Order Total” and “Earning” will be indicated.

Balances
On this page, you will see the amount currently on the way to your bank account / estimated future payouts, and the total.
The “Add to balance” option allows you to set aside extra funds for future refunds or disputes or to cover negative balances.
NOTE: Disputes incur a 15 USD dispute fee – this fee still applies if you accept the dispute.

Add funds to balance (this function is optional and may never be needed at all)
To add funds to your balance using the Dashboard:
Determine how much you want to add to your balance.
Go to the Balances page in the Dashboard, and click Add to balance.
Select whether you want to use a wire or local bank transfer, review Stripe’s bank information, and click Done.
After your bank has sent the funds, return to Balances, and click Add to balance.
(Optional) If the window prompts you for a receipt, upload a screenshot or the file that proves that your bank transferred the funds.
- To fund your Stripe balance faster, we might ask you to include a screenshot or PDF of your bank’s transfer or wire confirmation.
Click Confirm Transfer.

Manage bank accounts
Navigate to Balances → More → Manage bank accounts.

In the pop-up window that opens, click “Edit Account” if you need to change your bank account to the same currency that Stripe automatically determines as the primary currency for your account based on your geographic location.
You can also add a bank account, but in this case, the added account must be in a different currency.

After clicking on “Edit account” a new pop-up will open.
Select the country of your new bank account.
Enter your International Bank Account Numbers (IBAN). Then the system will ask you to confirm your IBAN one more time to avoid typos.
Click the “Edit account” button.
After that Stripe will notify you immediately via email that the information on your bank account was updated.
You can modify your bank account as many times as you need.

Payouts
IMPORTANT: You can configure the frequency of payouts to your bank account only if the Stripe account is associated with your personal website. When your Stripe account is connected to the platform, it is only the platform that can configure payouts in your account.
To see payouts configuration go to Balances → More → Configure Payouts.
The default payout frequency defined by the DIY Markt platform for connected accounts is once a month (on the 5th of every month), provided that the minimum payout amount is reached.
See The minimum payout amounts by country
See The cross-border minimum payout amounts
- If you sell intangible (digital, downloadable products) you can ask the DIY Markt platform admin to set you an automatic payout on a weekly basis (in this case the payouts will be done every Tuesday if you have enough funds).
- If you sell tangible goods that require delivery, payouts to your bank account can only be made monthly. This will allow the DIY Markt platform to maintain funds in your balance in case you need to cover refunds or disputes. This will prevent the risk of your account having a negative balance, for which Stripe may impose a penalty.
You have the right to request an extraordinary payout by sending a request to the platform admin. The decision on the possibility of early payout will be made by the administrator based on two conditions: the payout amount will not include payments for orders made less than 14 days ago, and the final payout amount will be equal to or greater than the minimum payout amount in your country.
To see all your payouts with amounts, date, and bank information, go to Balances → Where are my payouts
See Payout speed by country
See Negative payouts
See Payout failures
Customers
NOTE: In the Stripe Dashboard → “Customers” panel you can see the customers only if your Stripe account is associated with your personal website. When your Stripe account is connected to the platform, your customers won’t be visible in the “Customers” panel.
To see the full information about your customers navigate to diymarkt.com → Vendor Dashboard → Orders. Click on the desired order to see all the details about the order and the customer.